Log in
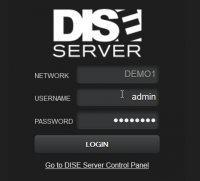
Open up a web browser and browse to the web interface landing page.
If you are on the same PC as you have installed DISE Server, type in "localhost". Otherwise, type in the IP address of the server.
You will see the login screen where you can input your username and password.
If this is the first time since installation, enter the admin credentials supplied during installation.
 Note: We recommend not to use the admin account for everyday use. Please make sure to create a new user account as soon as possible.
Upload some content
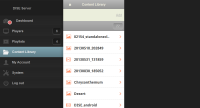
- Click the Content Library tab.
- Click the Upload link.
- Select a few images. They will be uploaded to Server.
Create a playlist
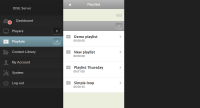
- Click the Playlists tab to the left.

- Type in a name and then click Save to create the playlist. It will appear in the list.
- Now we want to add some content to the playlist.
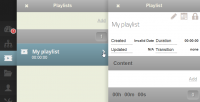
- Click the arrow next to the name to open up the playlist.
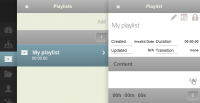
- Click Add under Content.
- Select a few of the images you have previously uploaded.
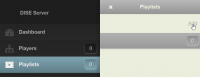
Create a player
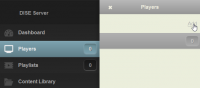
- Click the Players tab to the left.
- Click Add near the top of the Players section. Doing so will let you type in a name.
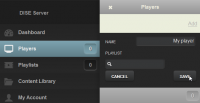
- Also type in the name of the playlist and select it under Playlist.
- Click Save to create the player.
- Now we want to associate this newly created player with an actual, physical PC (a hardware).
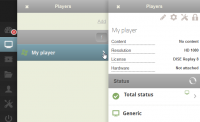
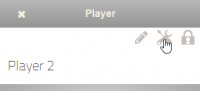
- Click the arrow next to the name to open up the player.
Note: The Hardware field in the newly created player says "Not attached", meaning it is not yet installed on a PC.
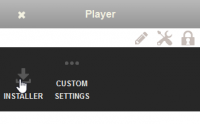
- Run the installer on the player PC. The installer will come pre-configured with the settings to connect to DISE Server.
- When you have run the player installer on a PC, go back to the player details.
- Notice that now, under Hardware there will be a name filled in (generally the player computer name or MAC address). This indicates that it has successfully been associated with the PC.

Note: For all available ways to add players to your system see DISE Premium installation.
See also


